




Hi, Thank you for your support and for your questions.
1. When you start a new project, the map is filled with (references to) char 0 (or tile 0 if using tiles).
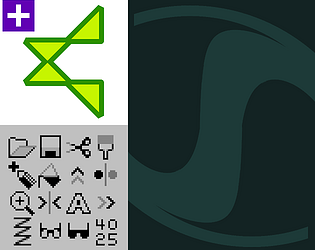
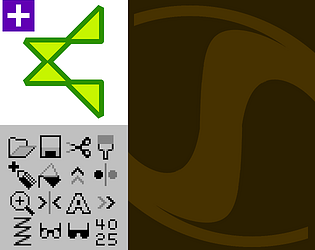
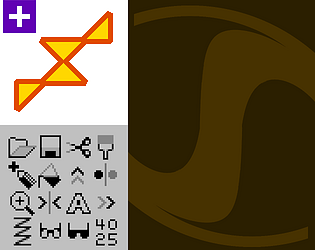
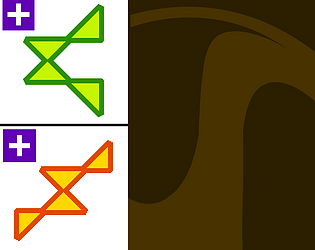
Therefore if you make changes to character image 0 the changes will automatically be seen in the map as well.
The same goes for any character, if you change it in the Char Editor, it will also visibly change everywhere it is used.
Understanding this fundamental concept is very important for understanding graphics on the C64 and other retro machines.
The characters contain the actual pixelled images, the map (and the tile-set if enabled) is/are just filled with references to those char images.
2. The red borders are a feature of the Character Set and Tile Set forms, they basically indicate the selected "erasure item", ie. the character (or tile) that gets painted into the map data when using the RIGHT mouse button in the Map Editor.
You can change which character (or tile) is the erasure item by just clicking another item with the RIGHT mouse button (0 is the default).
3. Char Materials provide a form of "metadata" for each character image, ie. as well its pixel image data, each character can also take a material value of 0-15, these values are very useful when doing collision detection in games, ie. every character has an extra (nybble) value that can be tested.
You will notice a "Material Mode" button in the toolbar of some windows, when enabled, the colour is hidden (greyscale) and the material values are shown instead.
I will see how you respond to this and maybe answer the rest later!